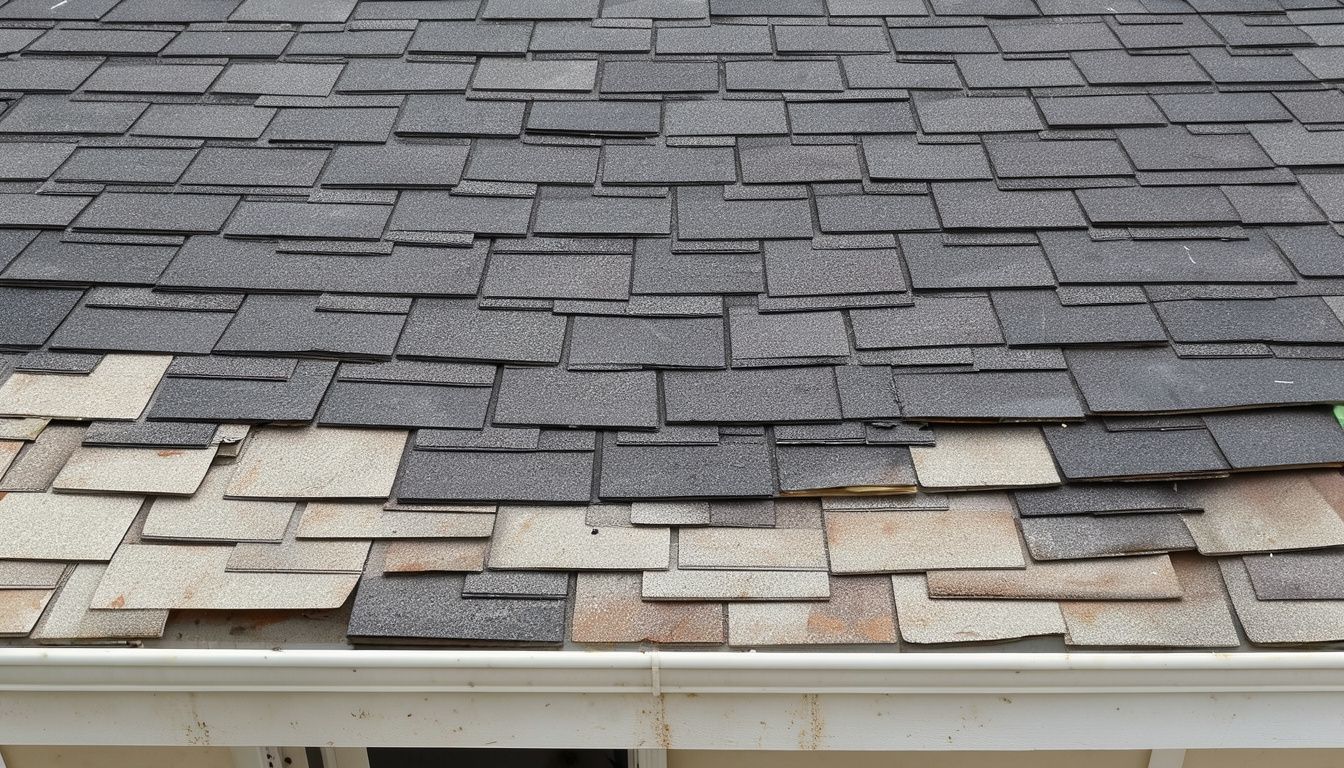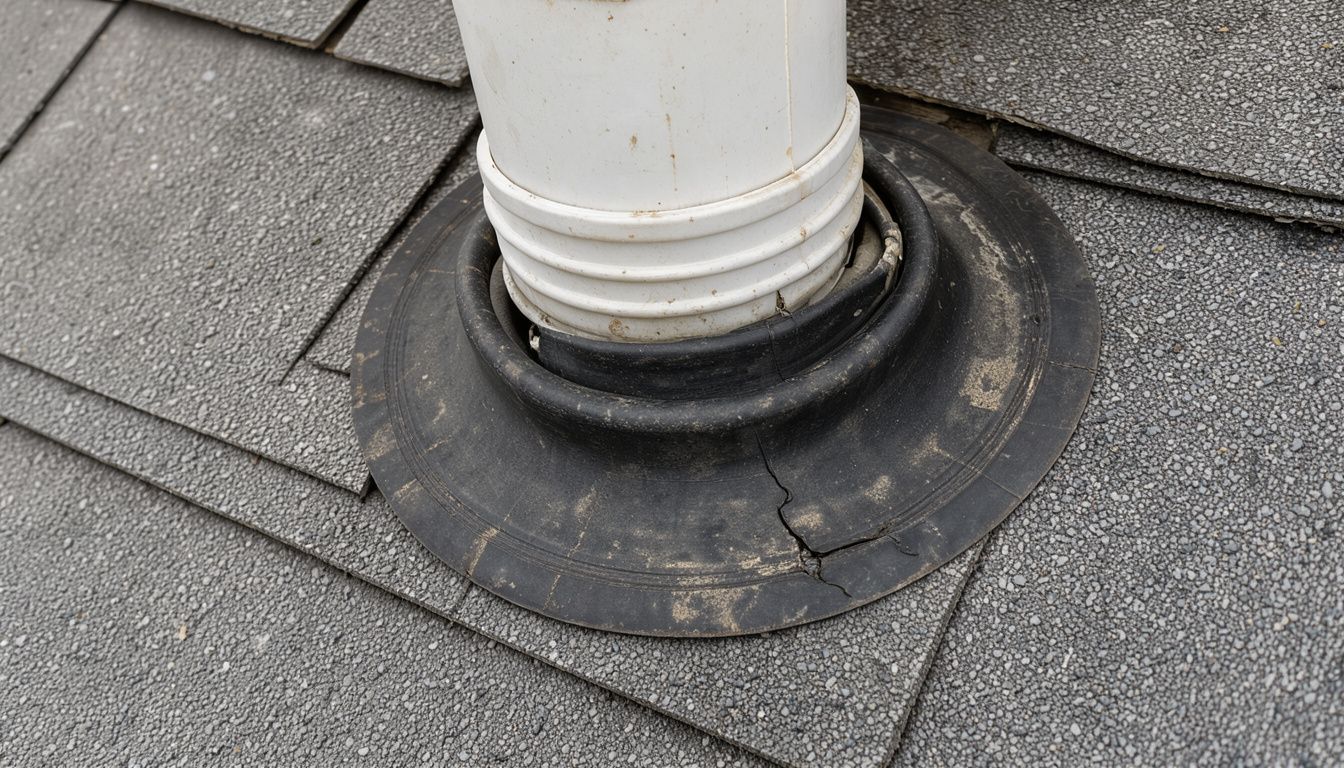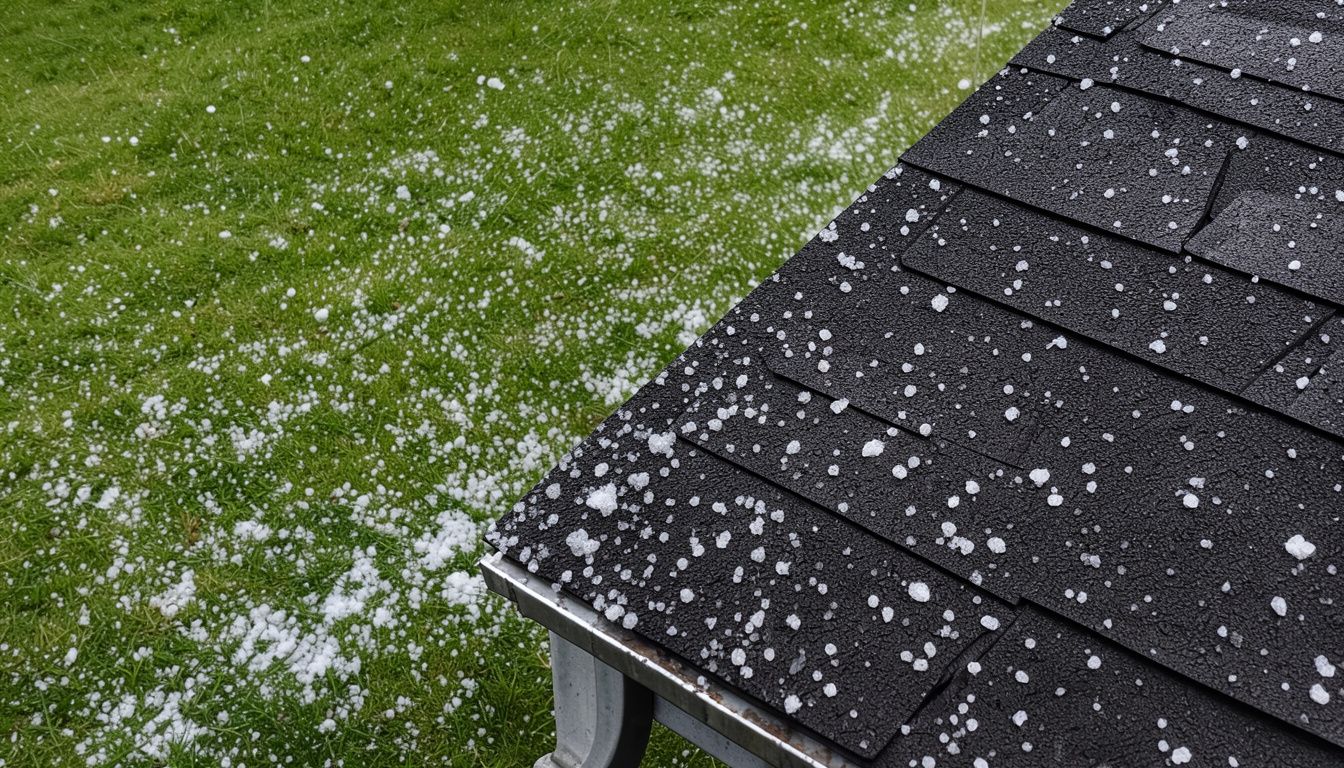
A shingle roof is a stack of layers. ARMA counts six components in a steep-slope system: ice and water barriers, underlayment, starter strips, shingles, hip and ridge products, and ventilation. They sit on a wood deck, with metal drip edge at the eaves and rakes and flashing at walls, chimneys and roof openings. Here is what each layer does, what it is made of, and what the code says about it.
The layers of a shingle roof at a glance
The Asphalt Roofing Manufacturers Association (ARMA) says steep-slope roofing systems generally include six components: ice and water barriers, underlayment, starter strips, shingles, hip and ridge products, and ventilation. This guide adds three parts that ARMA's list leaves out: the deck below, the drip edge and the flashing.
The table lists each layer in the order a crew installs it, with the code rule or published figure that applies.
| Layer | What it does | Typical material | Code rule or published figure |
|---|---|---|---|
| Roof deck (sheathing) | Structural base that holds every nail | Plywood or OSB panels; boards on older homes | NRCA recommends 1/2 inch nominal panels for 16-inch rafter spacing |
| Drip edge | Sends water off the edge and into the gutter, away from the fascia | Galvanized steel or aluminum | IRC: required at eaves and rakes, lapped at least 2 inches, extending 1/4 inch below the sheathing |
| Ice and water shield | Seals the eaves, valleys and penetrations against backed-up water | Self-adhering polymer-modified bitumen sheet | IRC: where ice dams are a known risk, from the eave to at least 24 inches inside the exterior wall line |
| Underlayment | Secondary water barrier over the whole deck | No. 15 or No. 30 asphalt felt, or synthetic | Double layer on slopes from 2:12 to 4:12; laps at least 2 inches |
| Starter strip | First line of sealant at the eaves and rakes | Asphalt starter shingles | Installed after the drip edge and underlayment (IBHS) |
| Shingles | Main water-shedding surface | Fiberglass mat, asphalt, mineral granules | Slope of 2:12 or more; at least four nails per strip; HomeGuide lifespan 15 to 30 years |
| Flashing | Seals walls, chimneys, valleys and pipes | Galvanized steel, aluminum, copper | Metal at least 0.019 inch thick; step flashing at least 4 inches up the wall and 4 inches onto the deck |
| Ridge cap and vents | Covers the peak and lets attic air out | Hip and ridge cap shingles over a ridge vent | IRC: net vent area of 1/150 of the attic, or 1/300 under set conditions |
The sections below take each layer in turn, then cover how many layers of shingles a roof may carry and how to see what is on yours.
Layer 1: The roof deck
The deck, also called sheathing, is the solid surface nailed to the rafters or trusses. Every other layer is fastened to it, so a weak deck undermines everything above it.
Fine Homebuilding notes that composition shingles must go on solid sheathing because they have no structural capacity to span gaps between boards. On most modern homes that means 4 ft. by 8 ft. panels of plywood or oriented strand board (OSB).
How thick the deck should be
The code minimum depends on rafter spacing and load. According to NRCA's Professional Roofing magazine, nominal sheathing as thin as 3/8 of an inch is permissible only under specific span, load and edge support conditions.
NRCA itself recommends more: 1/2 inch nominal plywood or OSB (actual thickness 15/32 of an inch) for 16-inch rafter spacing, and 5/8 inch nominal (actual 19/32 of an inch) for 24-inch spacing. Those thicknesses are meant to support the shingles and give the roofing nails enough pull-out resistance.
Shingle nails also need a solid bite. A Minnesota city code guide based on the state building code calls for roofing nails with at least a 12 gauge shank and a 3/8 inch head, long enough to reach 3/4 inch into the sheathing or pass through it.
Plywood vs. OSB
Both panel types are accepted for shingle roofs. The difference shows up when they get wet.
In APA testing cited by NRCA, 1/2-inch plywood swelled 9.4% in thickness from oven dry to vacuum soak, while 7/16-inch OSB swelled 32.9%, or about 3.5 times as much.
Board decking and skip sheathing on older homes
Houses built before panels were common often have solid 1x boards, or open "skip" sheathing: 1x4 or 1x6 boards nailed across the rafters with a gap between them.
Fine Homebuilding says skip sheathing is used under wood shingles and shakes, which usually need ventilation on both sides. Because composition shingles must go on solid sheathing, a skip-sheathed roof cannot take asphalt shingles as it is. Ask how the quote handles that.
HomeGuide puts the cost of replacing damaged or rotted decking at $2 to $5 per square foot. Because nobody can see the deck until the old roof is off, most contracts price it as a per-sheet or per-square-foot allowance.
Layer 2: Drip edge
Drip edge is the L-shaped or flared metal strip along the eaves and the sloped rake edges. It carries water past the fascia board and into the gutter, and it stiffens the roof edge against wind.
The International Residential Code (IRC) did not require drip edge until the 2012 edition, according to the Journal of Light Construction (JLC). So many older roofs never had it, and some jurisdictions still run on codes or local amendments that leave it optional.
What the IRC says about drip edge
Section R905.2.8.5, as quoted by JLC, reads: "A drip edge shall be provided at eaves and rake edges of shingle roofs." Adjacent pieces must overlap at least 2 inches, the metal must extend at least 1/4 inch below the sheathing and at least 2 inches back onto the deck, and it must be nailed no more than 12 inches apart.
The same section sets the order: underlayment goes over the drip edge along the eaves and under it along the rakes. Water running down the underlayment then lands on top of the metal instead of behind it.
High-wind programs ask for more. JLC reports that the Fortified Home program wants eave drip edge nails no more than 4 inches apart instead of the 12-inch code spacing, and the U.S. Department of Energy's building science guidance calls for a 1/2 inch drop below the sheathing and 3-inch overlaps at joints.
Thickness matters too. JLC notes that many drip edges sold at building supply stores are only 0.011 inch thick, while the IRC sets 0.019 inch as the minimum for metal flashing. Asking which gauge is on the quote is fair.
Layer 3: Ice and water shield
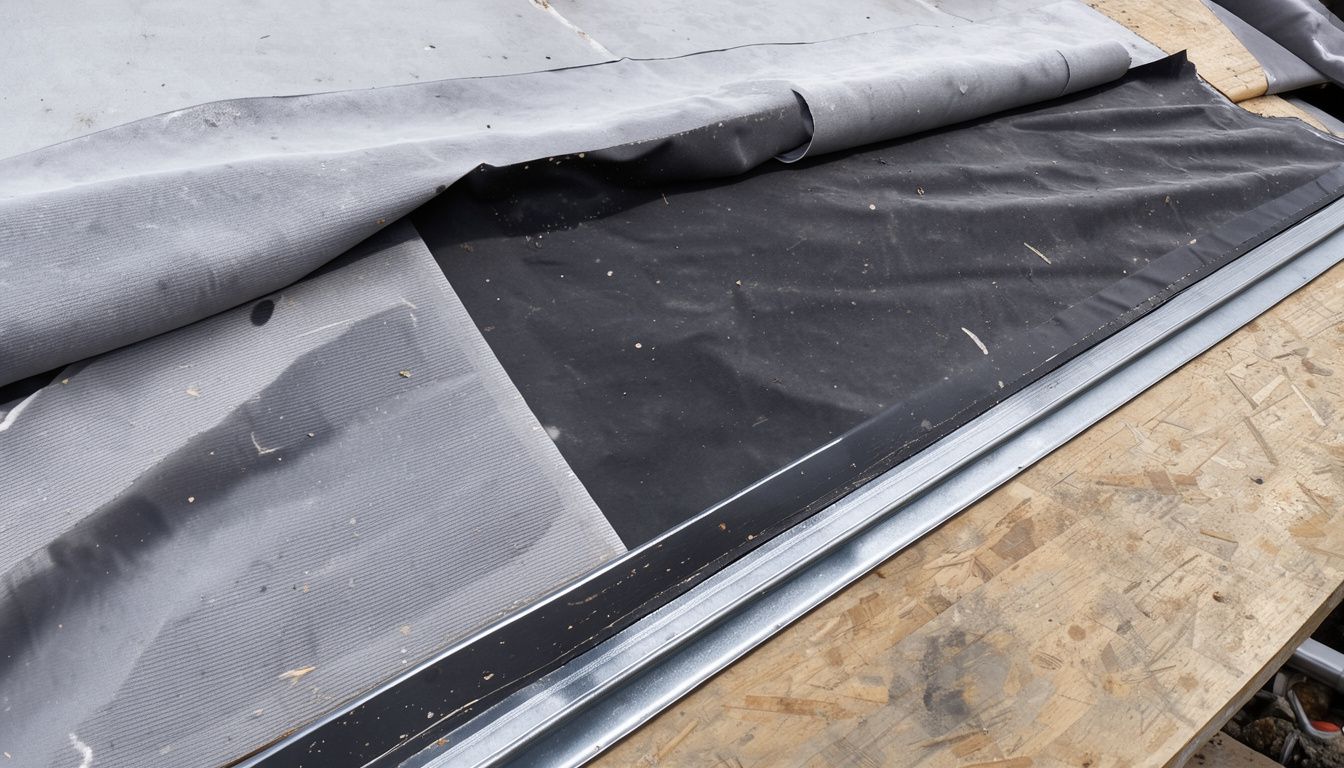
Ice and water shield is a peel-and-stick membrane that bonds to the deck. ARMA describes its role as protecting the parts of the roof where water tends to flow: valleys, the areas around chimneys and other protrusions, and the eaves.
At the eaves its main job is ice dams. NRCA explains that ice dams form when snow melts on the warmer upper roof and refreezes over the colder lower edge, so meltwater backs up under the shingles. Fine Homebuilding notes that asphalt felt doesn't seal around fasteners as effectively as peel-and-stick membranes.
Where the code requires it
The IRC ties the requirement to local history, not a single national map. The International Code Council summarizes it this way: in areas where there has been a history of ice forming along the eaves and backing up water, an ice barrier shall be installed under asphalt shingles and several other steep-slope coverings.
Each jurisdiction marks whether that applies in its climate table, Table R301.2(1), when it adopts the code.
Some go further: the city of Hopkins, Minnesota, requires an ice and water barrier on all roofs except detached accessory buildings. NRCA notes the code does not require one on detached buildings with no conditioned floor area.
NRCA's own recommendation is broader than the code. It advises ice-dam protection membranes wherever the average January temperature is 30 F or lower, using sheets that comply with ASTM D1970.
How far up the roof it has to go
Per NRCA, the code allows either two layers of underlayment cemented together or a self-adhering polymer-modified bitumen sheet, and the barrier must run from the eave to at least 24 inches inside the building's exterior wall line.
That 24 inches is measured horizontally, and it starts from the inside of the wall, not from the roof edge. Fine Homebuilding points out that once you add the eave overhang and wall thickness, the distance up the slope exceeds the typical 36-inch roll width. The same source says that on most roofs a single 3-ft. roll along the eave isn't far enough to comply with the IRC.
Membrane in valleys and around chimneys, skylights and pipes is usually a manufacturer or contractor specification rather than a code line. Ask for it in writing either way.
Layer 4: Underlayment
Underlayment covers the rest of the deck. ARMA calls it an additional layer of protection between the wood deck and the shingles that acts as a secondary water barrier. Fine Homebuilding adds that it keeps the sheathing dry until the roofing is installed and gives some protection against leaks if wind-driven rain gets past the roofing.
It is applied shingle fashion, with each upper course lapping over the one below. A Minnesota code guide sets laps at a minimum of 2 inches and end laps offset by at least 6 feet on slopes of 4:12 and steeper.
Felt underlayment
Felt, often called tar paper, is the traditional option. Owens Corning describes it as paper or fiberglass mat saturated with asphalt, sold as No. 15 or the thicker, tougher No. 30.
Its main advantage is price. Fine Homebuilding reports builders paying about 5 cents per square foot for #15 felt and 10 cents for #30. Felt is also less likely than synthetic to leak at nail and staple holes, and its permeance rises from about 5 perms dry to 60 perms wet, so it lets a damp deck dry.
The drawbacks: Owens Corning says felt generally can't be left exposed for more than a few hours, tears more easily, and can absorb water and wrinkle. It also weighs more, and Owens Corning says synthetic comes in wider and longer rolls.
Synthetic underlayment
Synthetic underlayment is a sheet of laminated polypropylene or polyethylene plastic. Owens Corning gives an example: a typical 2,700 square-foot home might need three rolls of synthetic compared with 14 rolls of No. 30 felt.
Fine Homebuilding says most synthetics can stay exposed for six months and some for 12, and they resist tearing in wind and foot traffic. They cost more, usually between 11 and 15 cents per square foot to the builder in its figures.
Two cautions apply. Most synthetics are vapor barriers, so they should not go over an unvented roof deck.
And they need plastic-cap nails or staples, because plain fasteners through the sheet can leak. Owens Corning also notes that synthetics are not standardized, so performance varies by brand.
Felt vs. synthetic side by side
| Factor | Asphalt felt | Synthetic |
|---|---|---|
| Builder material cost (Fine Homebuilding) | About 5 cents (#15) to 10 cents (#30) per sq. ft. | About 11 to 15 cents per sq. ft. |
| Safe exposure before shingling | A few hours (Owens Corning) | Six months for most, some 12 months |
| Tear resistance | Tears in wind and under foot | High |
| Vapor behavior | About 5 perms dry, 60 wet | Most are vapor barriers; vented roofs only |
| Fasteners | Standard nails or staples | Plastic-cap nails or staples |
| Coverage example (Owens Corning) | 14 rolls of No. 30 for a 2,700 sq. ft. home | Three rolls for the same home |
| Replaces ice and water shield | Only as two layers cemented together, where the code allows that option | No |
Fine Homebuilding is blunt about the last row: synthetics are not intended or approved to replace peel-and-stick membranes in areas prone to ice dams.
The shingle brand matters too. Owens Corning notes that some manufacturer warranties may require synthetic underlayment, so check the warranty terms before picking felt to save money.
Low-slope roofs need a double layer
Asphalt shingles can go on roofs as flat as 2:12 (two inches of rise per foot). On slopes from 2:12 to 4:12, the code requires a double layer of underlayment. Below 2:12, asphalt shingles are not allowed.
Layer 5: Starter strip
The starter strip is a row of shingle material laid along the eaves and rakes before the first visible course. IBHS describes it as the first asphalt shingle installed after the drip edge and underlayment, typically with a single strip or dashed line of sealant.
That sealant is what the first course of shingles adheres to. Per IBHS, the detail helps prevent water intrusion and protects against wind uplift that can occur at the roof edges. ARMA calls it the first line of sealant needed to prevent blow-offs at the eave.
Manufacturer starter products put the sealant line where the first course needs it. If your shingle warranty lists a matching starter product, the quote should name it.
Layer 6: Shingles
Shingles are what you see, and ARMA calls them the principal water-shedding surface. IBHS describes the build: a fiberglass mat saturated with asphalt, coated with mineral granules that protect against UV and add color, plus a strip of softer asphalt that the sun activates to seal each shingle to the one below.
Organic felt-mat shingles were discontinued in 2008, according to HomeGuide, so any new asphalt shingle will have a fiberglass mat.
3-tab vs. architectural shingles
3-tab shingles are a single layer with three tabs separated by cutouts. Architectural shingles, also called dimensional or laminate, have a double ply overlay that makes them thicker, and IBHS notes they are often designed to look like slate or wood shake.
HomeGuide says architectural shingles last longer and can withstand wind gusts of up to 130 mph, and it puts asphalt roof lifespan at 15 to 30 years with proper maintenance. HomeGuide adds that asphalt shingles need replacing more often in warmer climates or where temperatures swing widely.
Nailing, offsets and sealing
IBHS notes that shingles typically need at least four nails per full-size strip. IBHS adds that each row is horizontally offset from the one below to hide seams; for architectural shingles, the offset varies from four to six inches depending on the product.
Sealing takes heat. Manufacturers recommend 70°F to 80°F for sealing and warn that below 40°F shingles may not seal properly, per IBHS. A roof can seal in one to two weeks in summer but take one to two months or more in cool weather, which matters if your replacement is scheduled for late fall.
Layer 7: Flashing
Flashing is the metal at the joints of a roof. Code guidance requires flashing at all wall and roof intersections, at every change in slope or direction, and around roof openings.
Where flashing is metal, it must be corrosion resistant and at least 0.019 inch thick (No. 26 galvanized sheet), according to the Hopkins, Minnesota code guide citing IRC section R903.2.
Step flashing, valleys and chimneys
Along a sidewall, the Department of Energy's building science guide says step flashing should extend at least 4 inches up the wall and at least four inches out along the roof deck. It is integrated in shingle fashion, so the top layer laps over the bottom layer.
In an open metal valley, the lining must be at least 24 inches wide. Closed valleys, where shingles run through the valley, use a lining at least 36 inches wide or one of the open methods. The Hopkins guide adds that behind any chimney wider than 30 inches, a cricket (a small peaked diverter) is required to split water around it.
Old flashing can sometimes be reused. The Hopkins guide allows existing flashing in good condition to be reinstalled. Jaspector notes that old step flashing, valley metal, pipe boots and apron flashing may still have to be replaced or rebuilt.
Layer 8: Ridge cap and ventilation
At the top, hip and ridge cap shingles cover the seam where two roof planes meet. IBHS says they are folded over the ridge and fastened with two nails on each side, above the sealant strip. IIBEC notes that a new continuous ridge vent is a common homeowner request on reroofing jobs.
Ventilation is part of the roof system even though you cannot touch it. IIBEC lists its two jobs: lowering attic temperatures and removing excess moisture. ARMA adds that keeping the attic close to outside temperature helps prevent ice dams and premature shingle deterioration.
JLC notes that shingle warranties, as well as codes, require sloped roofs to be ventilated.
How much ventilation the IRC calls for
As quoted by IIBEC from the 2018 IRC, the minimum net ventilating area (the open area air can actually pass through) is 1/150 of the vented attic space. It may drop to 1/300 if both conditions are met: 40 to 50 percent of the vent area sits in the upper part of the attic, no more than 3 feet below the ridge, and homes in Climate Zones 6 through 8 have a Class I or II vapor retarder on the warm side of the ceiling.
In practice, a 1,000 square foot attic needs a little over 3 square feet of net vent area at 1/300, and between 6 and 7 square feet at 1/150. Vent products list their net vent area on the label, usually per linear foot for ridge and soffit vents.
Since the 2009 IRC, attics may also be built unvented if they meet a separate list of requirements in section R806.5. In that case, keep in mind that Fine Homebuilding says most synthetic underlayments are vapor barriers that shouldn't be used on unventilated roofs.
Common ventilation mistakes
A ridge vent with no soffit intake does little. IIBEC says a ridge vent with no provision for intake air is basically ineffective, and JLC warns that in wind a lone ridge vent can pull moist air out of the house into the attic.
Mixing exhaust types is another error. Adding box vents or turbines to a roof with a ridge vent creates a short circuit of the intended air flow, per IIBEC. For scale, IIBEC cites an example in which 15 static vents equal the exhaust of 42 linear feet of ridge vent.
JLC recommends dividing vent area about 50/50 between low and high openings, and IIBEC says intake should always be equal to or more than exhaust.
How many layers of shingles does code allow?
"Layers" also means something else on a quote: how many complete roofs are stacked on the deck. The IRC's reroofing section sets the limit, and local building departments can tighten it.
The rule works by trigger, not by a simple count. Under IRC section R908.3, the old roof must come off first if the existing roof or deck is water-soaked or deteriorated, if it already has two or more layers, or if the existing covering is wood shake, slate, clay, cement or asbestos-cement tile, as summarized by the code reference site Jaspector.
In plain terms, one existing layer of asphalt shingles may be covered once, for a total of two.
A roof that already has two layers needs a full tear-off. HomeGuide sums it up: most states allow a maximum of two asphalt shingle layers on a roof.
Local rules vary. Chicago does not allow a recover over two or more existing layers unless a licensed architect or engineer certifies the structure can carry the extra layer.
The IBHS roof guide notes that in moderate hail zones, recover is often not permitted at all. Because rules differ by city and county, call your building department before you assume an overlay is legal.
Tear-off vs. overlay: what happens to each layer
A tear-off removes all existing roofing down to the deck. HomeGuide describes it as removing the old roof, repairing or replacing any damaged decking, and installing a new roof. Every layer in this guide is then replaced or inspected.
An overlay (also called a recover or roof-over) installs new shingles over the old ones. The old layers stay in place, and HomeGuide notes that the contractor cannot inspect the roof deck before installation.
Jaspector puts the risk simply: if the old shingles are curling, brittle, uneven, or trapping moisture over a deteriorated deck, the new roof inherits those defects. Old step flashing, valley metal, pipe boots and apron flashing may still need to be replaced even when an overlay is allowed.
HomeGuide notes that shingling over the old roof adds weight, shortens the roof's lifespan and keeps contractors from inspecting the deck. It lists tear-off as the right call when the shingles are more than 20 years old, the damage affects more than 25% of the roof, or the cost of repairs is more than 30% of the cost of a new roof.
What each option costs
HomeGuide puts tearing off and replacing an asphalt shingle roof at $3 to $5 per square foot, or $5,700 to $12,000 on average. Removing and replacing an architectural shingle roof runs $4 to $6 per square foot, or $9,000 to $16,000 for an average home.
Removal alone is $1 to $3 per square foot for asphalt shingles, per HomeGuide, and tear-off costs more on a roof with two layers. Roofing underlayment adds $0.10 to $0.80 per square foot depending on the material, and HomeGuide notes that replacement estimates typically include new underlayment.
For a quick estimate on your own house, our roof replacement cost calculator applies these kinds of ranges to your roof size and pitch. The method is explained on the how we calculate page.
How to tell what is on your roof
You can learn a lot about your roof layers before any contractor shows up. Stay off steep or wet roofs; a ladder at the eaves, binoculars and a flashlight in the attic are enough.
From the ground and the eaves
Fine Homebuilding says the place to count layers is along the edges. Check the shingle edges from a ladder at more than one spot.
The same source warns that roofers often double the shingles along the edges on purpose, so check a few spots.
Look along the ridge, too. If it sags in the middle, Fine Homebuilding suggests too many layers of roofing or undersized rafters. A lumpy, uneven surface probably means two or more layers that were not installed well, and a dip between each rafter suggests the sheathing is too thin.
While you are at the eave, check whether there is metal drip edge. JLC notes that the IRC did not require it until the 2012 edition, so older roofs may not have it.
From the attic
From the attic you can see whether the deck is panels or boards. Boards nailed horizontally to the rafters with a space between them are skip sheathing, the type Fine Homebuilding says is used under wood shingles and shakes.
Fine Homebuilding advises checking for water stains on the supporting lumber while you are in the attic.
Then check ventilation at the soffits and the ridge. IIBEC lists vents blocked by attic insulation, where insulation baffles weren't used, among common ventilation problems.
What to look for in a replacement quote, layer by layer
A good quote names each layer rather than saying "new roof system." Use this list to compare bids line by line.
- Tear-off: number of existing layers to remove, and dumpster and disposal.
- Decking: a per-sheet or per-square-foot price for rotted sheathing, and the panel thickness used.
- Drip edge: new metal at eaves and rakes, with the gauge or thickness.
- Ice and water shield: how far up from the eave (in courses or feet), plus valleys, chimneys and skylights.
- Underlayment: felt or synthetic, the product name, and a double layer on any section between 2:12 and 4:12.
- Starter strip: manufacturer starter product at eaves and rakes.
- Shingles: brand, product line and color, and the nailing pattern the warranty requires.
- Flashing: new step flashing, chimney counterflashing, valley metal and pipe boots, or which pieces are reused.
- Ventilation: ridge vent length, soffit intake, and removal of any old box vents.
- Ridge cap: hip and ridge cap shingles from the same manufacturer.
Matching components matter for the warranty. Owens Corning points out that installing felt may leave a roof outside the coverage of a manufacturer warranty that requires synthetic underlayment. Ask whether your shingle warranty also requires starter, underlayment and ridge products from the same brand.
Ask each contractor how they will confirm the layer count and the deck condition. Jaspector notes that before promising a recover, a contractor should verify the layer count, inspect the attic, walk the roof for soft areas and confirm the shingle maker allows installation over the existing roof.
If you are in a high-wind area, ask about the IBHS FORTIFIED Roof standard. It requires ring shank nails in a tighter pattern for the deck, a sealed roof deck that keeps water out even if shingles blow off, and extra drip edge details.
Frequently asked questions
What are the layers of a shingle roof?
From the bottom up: the plywood or OSB deck, metal drip edge, ice and water shield at the eaves and valleys, underlayment, a starter strip, the shingles, metal flashing at walls, chimneys and valleys, and the ridge cap over a ridge vent. ARMA groups the system into six components: ice and water barriers, underlayment, starter strips, shingles, hip and ridge products, and ventilation.
How many layers of shingles are allowed on a roof?
Under the IRC reroofing rules, a new roof cannot go over a roof that already has two or more layers, so the practical limit is two. HomeGuide notes that most states allow a maximum of two asphalt shingle layers. Some cities are stricter, and Chicago requires a structural report before any recover over two layers.
Is it better to tear off or put new shingles over old ones?
A tear-off lets the crew inspect and repair the deck and install new ice and water shield, underlayment and flashing. HomeGuide says an overlay is cheaper and faster but adds weight, shortens the roof's lifespan and hides deck damage. An overlay is also not allowed over a water-soaked or deteriorated roof.
Is synthetic underlayment better than felt?
Synthetic tears less, can stay exposed for months, and is lighter, but it costs more and needs cap fasteners. Felt is cheaper and lets a damp deck dry, but Owens Corning says it generally cannot be left exposed for more than a few hours. Some shingle warranties require synthetic, so check yours first.
Where is ice and water shield required?
The IRC requires an ice barrier where there is a history of ice forming at the eaves and backing up water, as marked by the local jurisdiction. It must run from the eave to at least 24 inches inside the exterior wall line. NRCA recommends it wherever the average January temperature is 30 F or lower.
How can I tell how many layers my roof has?
Check the shingle edges at a gable end or the eaves from a ladder, where stacked edges show multiple roofs. Fine Homebuilding warns that roofers often double the edge shingles on purpose, so check several spots. A sagging ridge or a lumpy surface also points to extra layers.
Sources
- Asphalt Roofing Manufacturers Association (ARMA), asphaltroofing.org/anatomy-asphalt-roofing-system/ (read November 22, 2026)
- Insurance Institute for Business & Home Safety (IBHS), ibhs.org/roof-101/ (read November 22, 2026)
- IBHS / RICOWI Roof Guide, ibhs.org/guidance/ricowi-roof-guide-codes-and-standards/ (read November 22, 2026)
- NRCA, Professional Roofing, professionalroofing.net/articles/article/4799 (read November 22, 2026)
- NRCA, Professional Roofing, professionalroofing.net/Articles/Plywood-or-OSB--04-01-2021/4853 (read November 22, 2026)
- Fine Homebuilding, finehomebuilding.com/project-guides/roofing/roof-sheathing (read November 22, 2026)
- Owens Corning, owenscorning.com/en-us/roofing/blog/synthetic-vs-felt-roofing-underlayment-pros-cons (read November 22, 2026)
- Fine Homebuilding, finehomebuilding.com/project-guides/roofing/synthetic-roofing-underlayments (read November 22, 2026)
- City of Hopkins, MN (building code guide), hopkinsmn.com/615/Asphalt-Shingles-R9052 (read November 22, 2026)
- City of Hopkins, MN (building code guide), hopkinsmn.com/613/Ice-Water-Barriers (read November 22, 2026)
- City of Hopkins, MN (building code guide), hopkinsmn.com/616/Flashing (read November 22, 2026)
- City of Hopkins, MN (building code guide), hopkinsmn.com/621/Re-Roofing-R907-Roof-Edging (read November 22, 2026)
- City of Hopkins, MN (building code guide), hopkinsmn.com/612/Fastener-Schedule-for-Roofing (read November 22, 2026)
- International Code Council (ICC), iccsafe.org/?p=644914 (read November 22, 2026)
- NRCA, Professional Roofing, professionalroofing.net/articles/article/3547 (read November 22, 2026)
- Fine Homebuilding, finehomebuilding.com/project-guides/roofing/ice-barriers-explained-far-roof-slope (read November 22, 2026)
- JLC (Journal of Light Construction), jlconline.com/how-to/framing/drip-edge-and-the-irc_o/ (read November 22, 2026)
- U.S. DOE Building Science Education, bsesc.energy.gov/energy-basics/drip-edge-roof-eaves-and-rakes (read November 22, 2026)
- U.S. DOE Building Science Education, bsesc.energy.gov/energy-basics/step-flashing-roof-wall-intersections (read November 22, 2026)
- IIBEC (International Institute of Building Enclosure Consultants), iibec.org/attic-ventilation-101/ (read November 22, 2026)
- JLC (Journal of Light Construction), jlconline.com/how-to/roofing/roof-ventilation/roof-ventilation-field-guide (read November 22, 2026)
- HomeGuide, homeguide.com/costs/asphalt-shingle-roof-cost (read November 22, 2026)
- HomeGuide, homeguide.com/costs/average-cost-to-tear-off-and-replace-roof (read November 22, 2026)
- City of Chicago Department of Buildings, chicago.gov/city/en/sites/guide-to-building-permits/home/terms-and-conditions/epp/worktype/ROOF.html (read November 22, 2026)
- Jaspector (IRC code reference), jaspector.com/codes/irc-2021/ch09-roof-assemblies/reroofing-code-existing-shingles/ (read November 22, 2026)
- Fine Homebuilding, finehomebuilding.com/project-guides/roofing/evaluating-the-state-of-the-roof (read November 22, 2026)